Overview
| Excerpt |
|---|
Ship To's provide you with the ability to manage multiple shipping addresses for a specific customer account. |
Ship To's are commonly used in the following scenarios:
Customers who have central purchasing, but operate out of multiple locations.
Customers who ship the orders to their customers.
Customers who need an alternate shipping address.
| Ui expand | ||
|---|---|---|
| ||
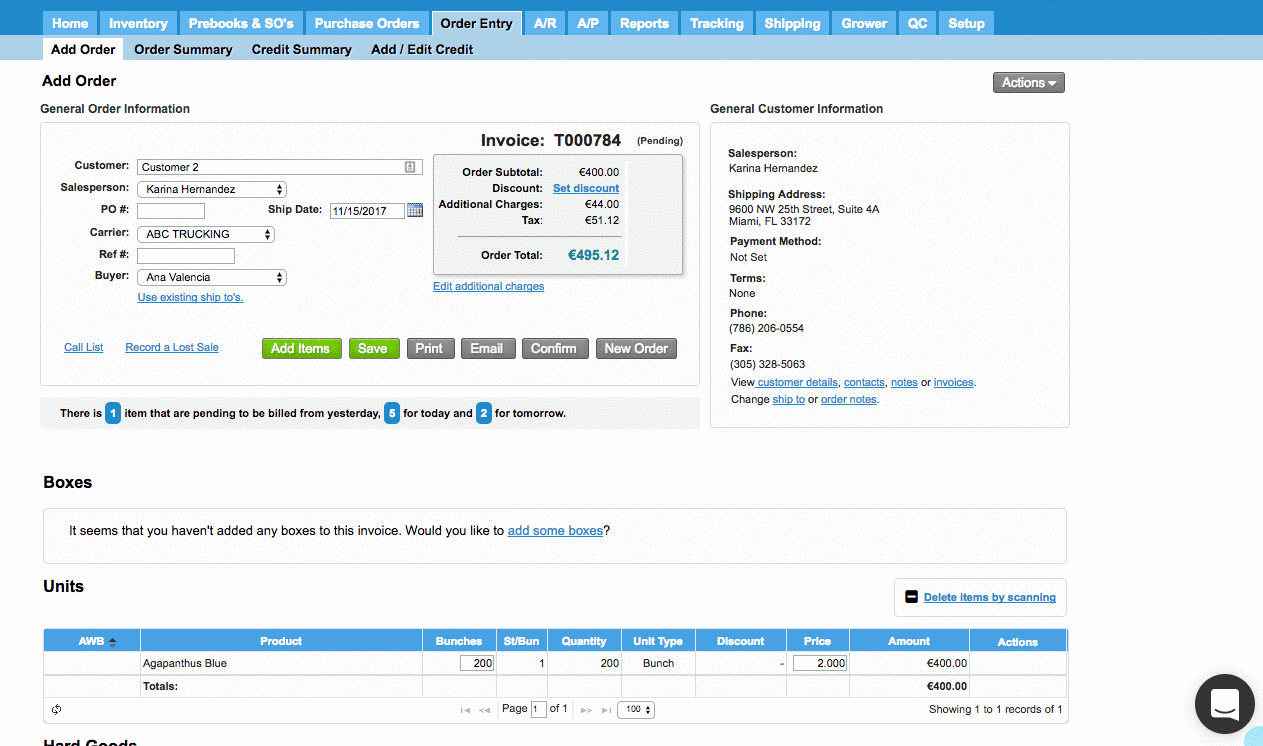
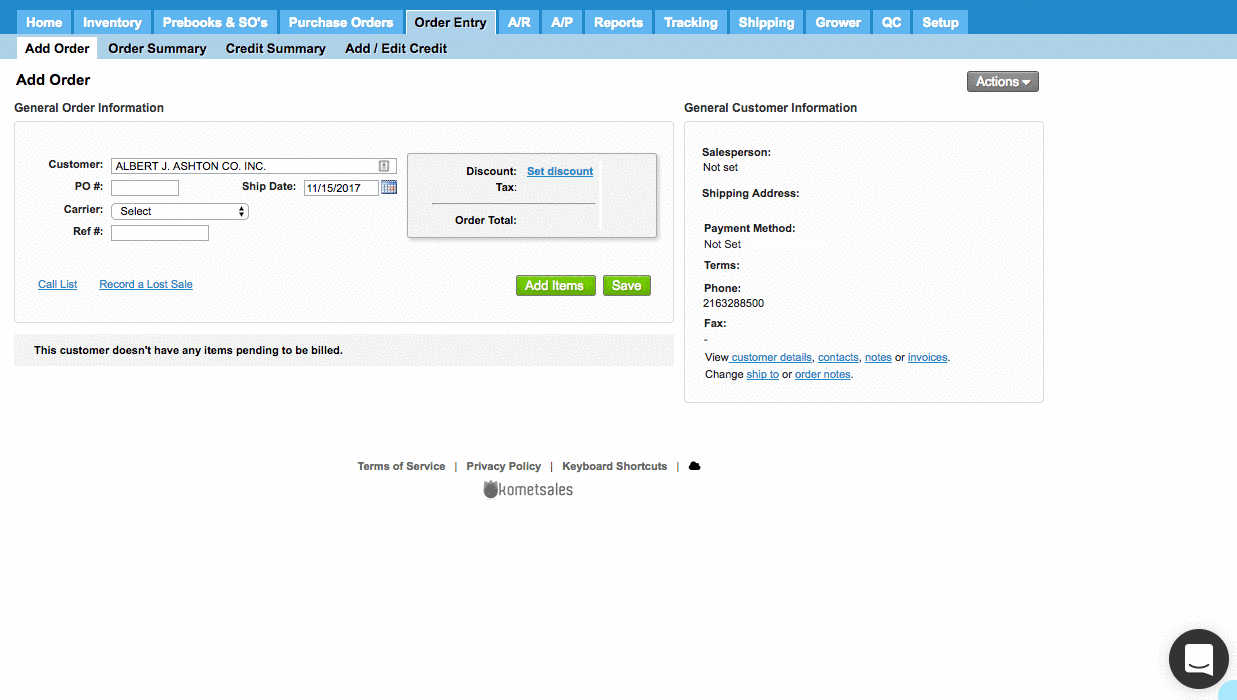
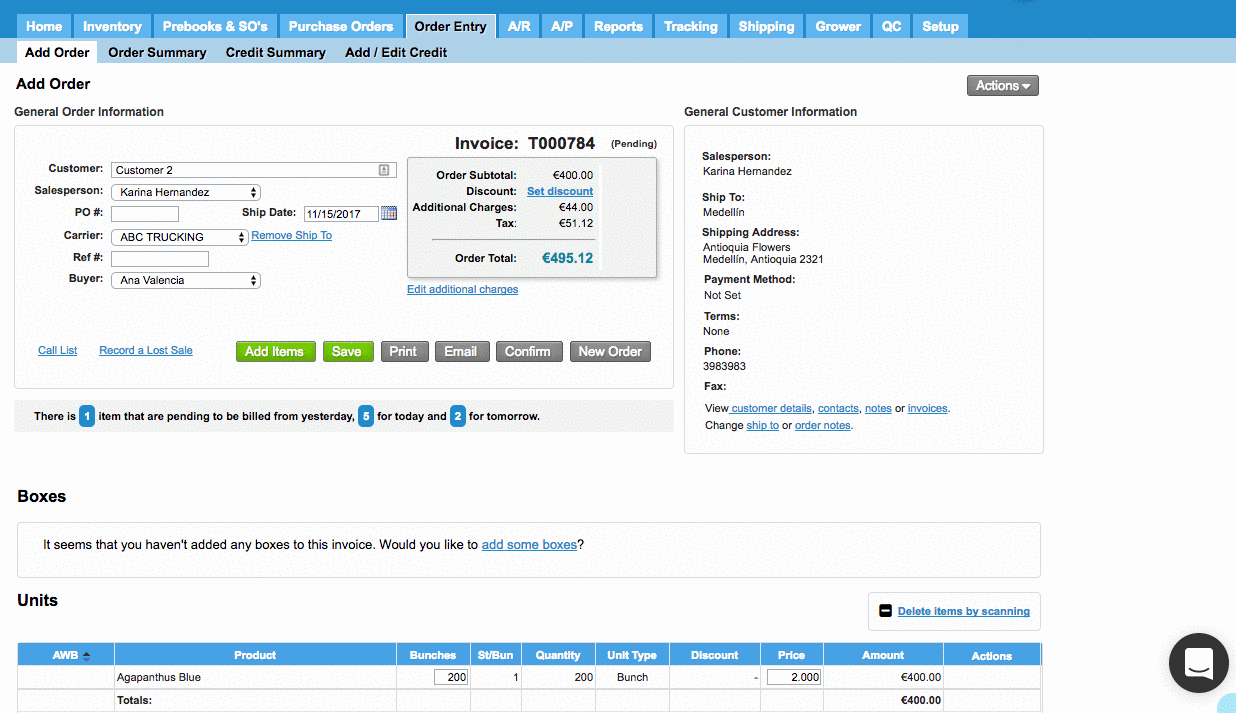
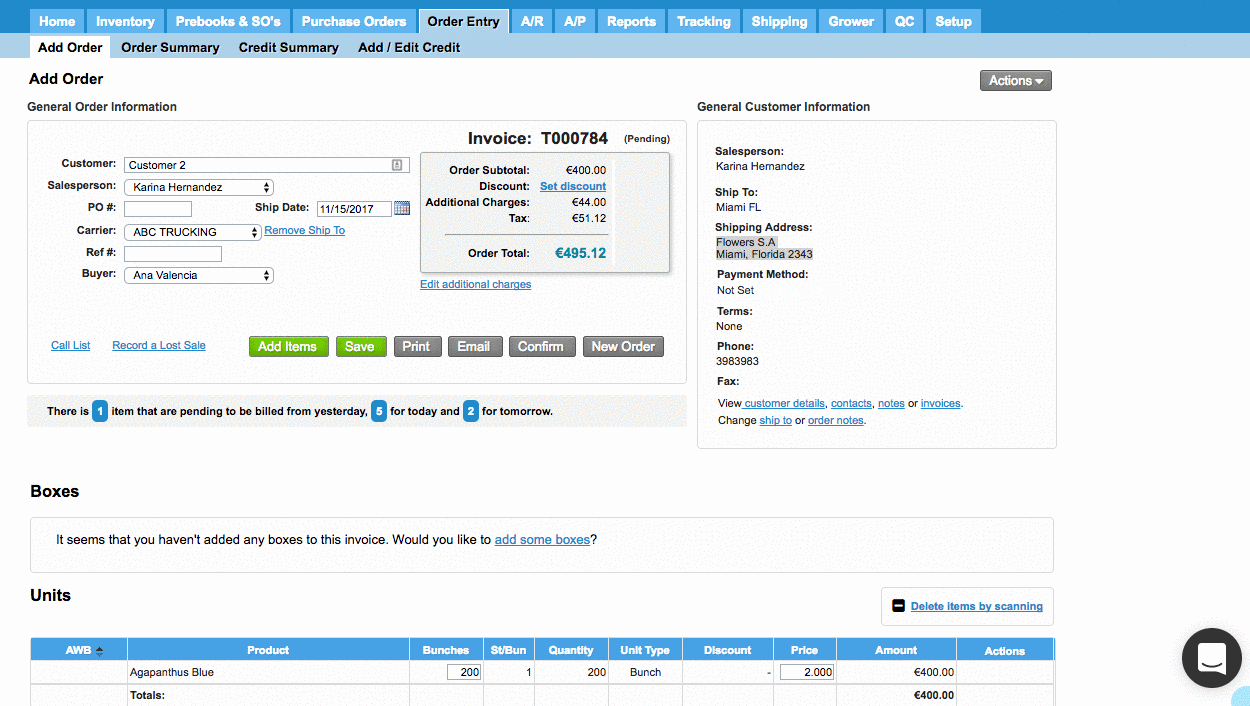
Create the order through the Order Entry tab, as usual, select a customer, ship date, carrier, Save it, and from there you'll be able to see the "Ship To's" link in the outlined General Order Information box. Click on the Use existing ship to's link. If you need to add a new Ship To for the existing order, click on the Change Ship to link. You will see an "Add a new ship to" link, simply click on it and enter the information required. Also in this window, there is the option to enable the Use for this Order Only feature. This allows the user to enter a ship to that will not be stored to the Customer's Account, instead, it will only be used for that order. Make sure to select the right option when saving:
|
| Ui expand | ||
|---|---|---|
| ||
If the account has no ship to's associated to it, a window where you can enter the "Ship To" information will be displayed. The "Name" field won't be printed on the shipping labels, but it will be used to identify that specific ship to address. Once all fields have been completed, click on the "Save & Use" button. This will close the window and the ship to just created will be used for this order.
|
| Ui expand | |||||
|---|---|---|---|---|---|
| |||||
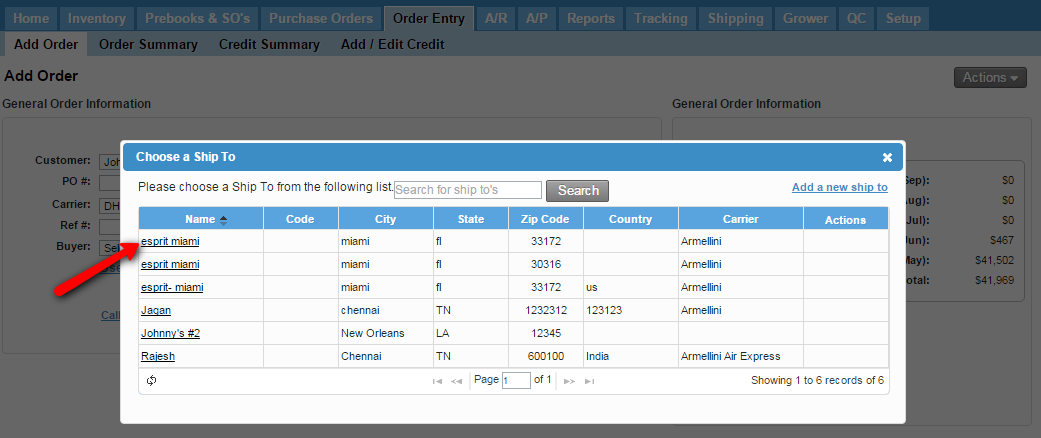
If the account has an existing Ship To, a window with a list of Ship To's will be displayed. To use an existing ship to, you need to click on the ship to's name. The window will close and the Ship To that you selected will be used.
|
| Ui expand | ||
|---|---|---|
| ||
Komet allows companies to set the "Ship To" as a mandatory option when creating the orders. To learn more information about how to enable this option, please refer to Require Ship-To selection. After the user activates this option, the system will require a Ship To depending on the scenarios below:
|
| Ui expand | |||||||||||||
|---|---|---|---|---|---|---|---|---|---|---|---|---|---|
| |||||||||||||
Ship To's can be easily exported. Here are the instructions:
|
| Ui expand | ||
|---|---|---|
| ||
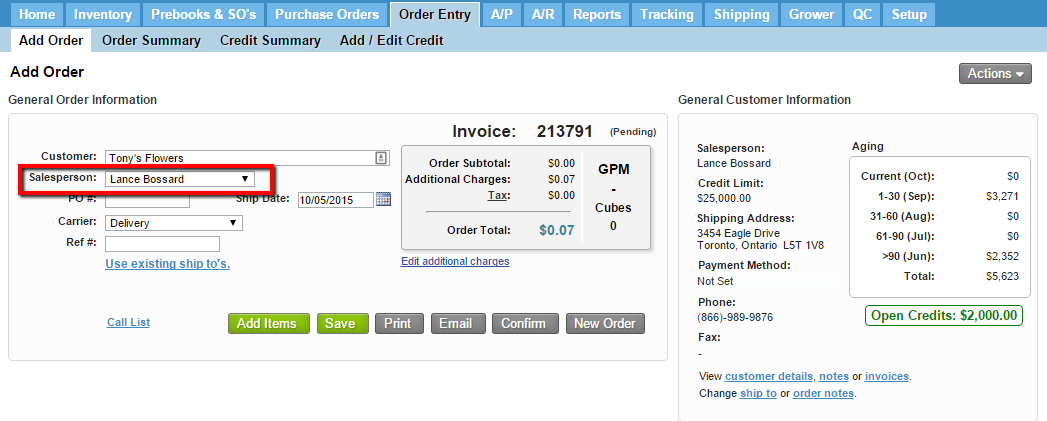
Go to Setup > Customers > Edit (under Actions column) > Ship To's tab, and choose the Salesperson. You have the option to choose a salesperson for flowers and plants. Please note that the salesperson will only be added once the first item of the order is added, depending on whether the item is plants or flowers. If you do not select a salesperson for the Ship To, the system will use the salesperson for flowers associated to the customer (it applies for orders in units, hard goods, and boxes).
The salesperson can be changed from the Add Order tab, from the Salesperson field. However, the Salesperson field will only appear once the first item is added to the order.
|

| Info | ||
|---|---|---|
| ||
When the Manage Ship to's From External System option has been enabled, users will be restricted from editing or deleting ship to's from orders. |
| Panel | ||||||||||||
|---|---|---|---|---|---|---|---|---|---|---|---|---|
| ||||||||||||
|
| Info | ||
|---|---|---|
| ||
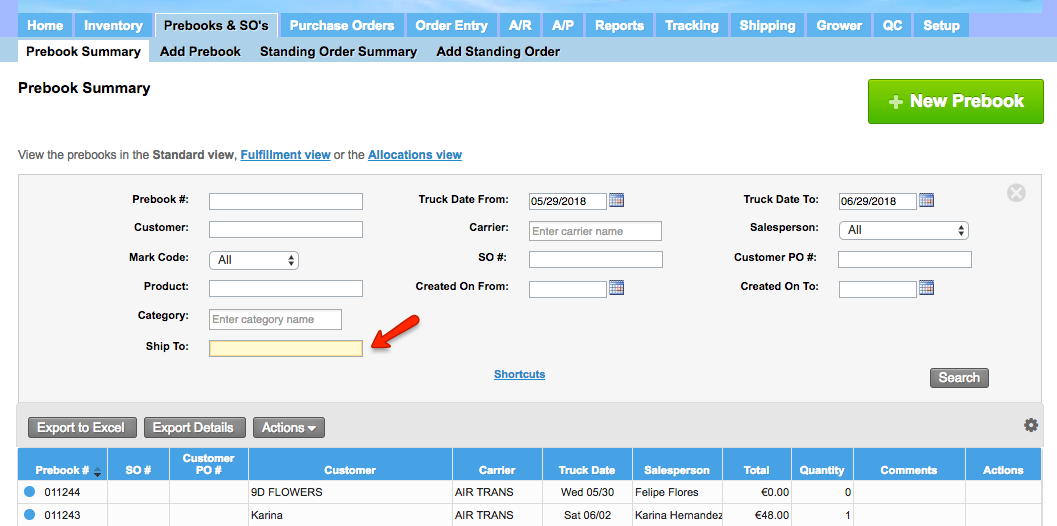
The system allows to filter your orders by Ship To (name or code) from the Prebook Summary, Order Summary, Accounts Receivables>>Open Invoices screens. This filter will be taken into account to export to Excel, print documents and generate reports from those screens.
|
| Ui text box | ||
|---|---|---|
| ||
|
...